

So how do we tackle the mammoth task of cleaning a hoarder’s house? Walking into a home where every flat surface groans under towers of belongings, forgotten trash, and hidden hazards can leave even the most seasoned cleaner uneasy. This guide will show you exactly how to transform that chaos into order: from assessing the mess, to shielding yourself, to selecting the right tools—and finally restoring healthy living space.
What Is Hoarding?
Hoarding is more than messy habits—it’s a persistent difficulty discarding possessions, no matter how worn, broken or redundant. Inside a hoarder’s house you’ll often find narrow passages winding between stacks of newspapers, boxes overflowing with mismatched shoes, and dusty kitchenware lurking under cartons of old mail. What feels like junk to an outsider may feel essential to the homeowner, making each item a potential flashpoint. Before you lift a single object, you need a plan that respects both health and the resident’s emotional attachment.

Step 1: Evaluate and Plan
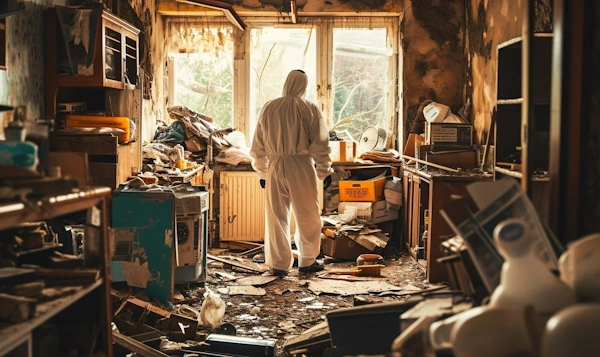
• Walk each room slowly, noting danger zones—sharp objects concealed in clutter, mold patches spreading on walls, rodent nesting areas.
• Estimate volume: roughly chart how many piles, crates or bags you might need.
• Sketch a workflow: Which room offers the clearest path out? Which area holds the most risk?
• Discuss goals with the homeowner. Will they part with three bags of papers? Ten? Establish realistic daily targets.
• Secure extra hands. Cleaning a hoarder’s home is a marathon; volunteers or hired crew will speed the process and reduce strain.
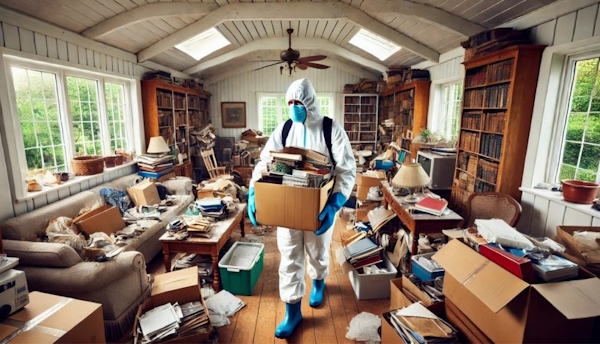
Step 2: Personal Protection
Inside that tangled haven you may stir up dust, spores, insect nests or rodent droppings. Dress to guard every inch:
• Thick nitrile gloves (double-gloving if needles or glass are likely)
• Full-face respirator or N95 mask and sealed safety goggles
• Durable coveralls with elastic cuffs
• Steel-toed boots or heavy-duty work shoes
• Hard hat if ceilings are crumbling or tall stacks loom overhead
• Flashlight, insect-spray, fire extinguisher and a stocked first-aid kit within arm’s reach
Step 3: Gather Sufficient Cleaning Supplies
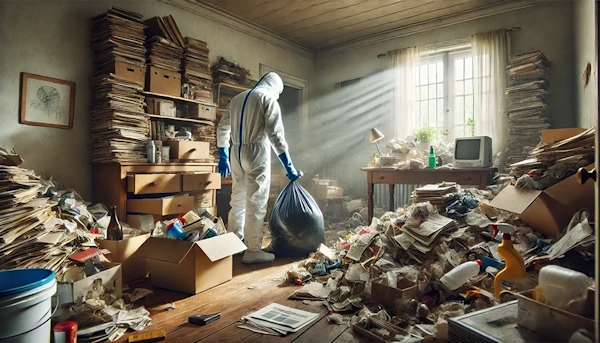
Running out of supplies mid-clean means wasted time and energy. Stockpile:
• Super-sized, heavy-gauge trash bags—able to hold shards of glass or damp moldy cardboard
• Sturdy, labelable boxes for items the homeowner will keep
• Mop buckets, floor scrubbing brushes and industrial-strength detergent to dissolve grease and grime
• Absorbent sponges, microfiber cloths and scouring pads for counters, sinks and tight corners
• A stiff broom and wide dustpan to clear debris and keep pathways safe
• Hospital-grade disinfectants and antibacterial cleansers to neutralize germs and odors
• A canister vacuum with HEPA filter to remove fine dust, upholstery debris and allergens
• Shovel or scoop tools for lifting bulky refuse and broken furniture
• A secure step ladder for reaching cobwebbed light fixtures and ceiling corners
• A toolbox of common hand tools—screwdrivers, pliers, wrench—for dismantling or minor repairs
Designate a covered outdoor staging area—tarp laid out and bins ready—so you can sort trash, donations and recyclables as you go.
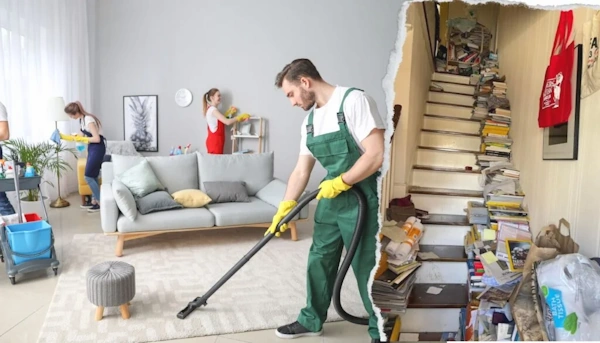
Step 4: Cleaning & Sanitizing—Room by Room
• Begin in the smallest, least sentimental room (often a bathroom or spare closet). With fewer valuables at stake, you can build momentum by clearing it quickly.
• Empty completely. Remove furniture, fixtures and every loose item. Surface-clean walls, scrub floors, then sanitize with a bleach solution or hospital-grade spray.
• Move on to more cluttered areas. Follow your three-bin sorting system: Keep, Donate/Recycle, Discard. Label boxes clearly and move them directly to your staging zone. Speed is key—the homeowner may change their mind if you hesitate.
• Once everything is out, conduct a true “top-to-bottom” deep clean. Wipe ceilings, dust cobwebs from corners, wash walls, vacuum or mop floors. Steam-clean carpets and upholstery if needed to remove embedded grime.
• Inspect for repairs—loose boards, peeling paint, leaky pipes—and make quick fixes before returning belongings.
• Replace items that survive the sort back into their rightful places: neatly folded linens in cabinets, stacked dishes in cupboards, personal mementos on clean shelves.
Step 5: Final Touches & Follow-Through
After the final wipe of disinfectant, step back and admire the transformation: an open walkway, bright surfaces, fresh air replacing dank mustiness. Talk with the homeowner about maintenance—weekly tidying sessions, limiting acquisitions, and perhaps professional counseling to prevent relapse.
Do You Really Want to Do This Alone?
Clearing a hoarder’s house isn’t a weekend hobby—it’s a carefully orchestrated, physically demanding project with real health risks. If you’d rather spend your free time with friends and family than up to your elbows in boxes and bacteria, let the professionals handle it. Organize It brings trained crews, industrial-grade equipment and compassionate expertise straight to your door. Call us now at 312-730-6552 or request your FREE estimate today—so you can focus on the things that matter most.